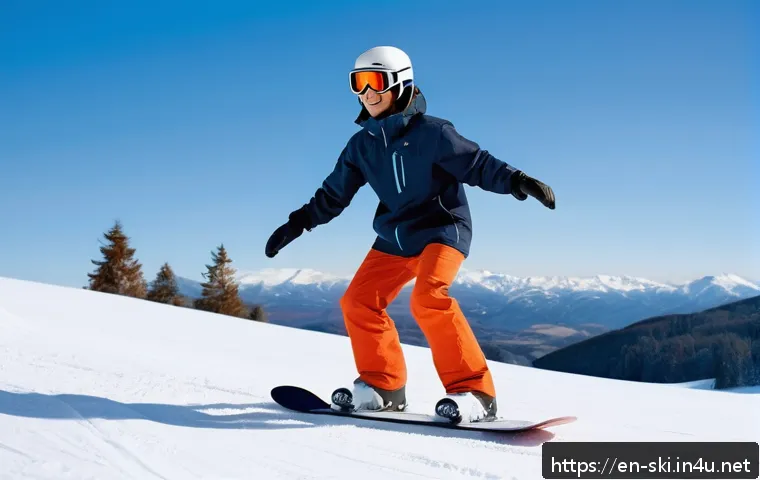
Remember that exhilarating rush when you first considered hitting the slopes? Or maybe you’ve already had a taste and are now buzzing with questions about everything from the right gear to those inevitable tumbles.
Trust me, I’ve been right where you are – staring at a mountain of information (and actual mountains!), wondering how to even begin. Snowboarding looks effortlessly cool, doesn’t it?
But behind every smooth carve is a learning curve that can feel a bit daunting at first. You’re probably wondering what board to pick, how to stop gracefully, or if falling hurts as much as it looks (spoiler: sometimes, but it definitely gets better!).
It’s easy to get lost in all the jargon and conflicting advice out there, making the dream of gliding down fresh powder seem a world away. Many beginners grapple with everything from choosing a forgiving ‘rocker’ profile board to mastering the chairlift without a wipeout.
From my very own trial-and-error days to countless seasons on the snow, I’ve gathered the essential wisdom to cut through the confusion. I’ve even seen the latest 2025-2026 gear drops that are making learning even easier, like new beginner-friendly boards with “Catch-Free edges” and advanced binding systems that reduce fiddling time, boosting a new rider’s confidence and endurance.
We’re talking about practical, real-world answers to *your* most pressing beginner questions, helping you avoid common pitfalls and get straight to the fun part.
Ready to transform those beginner jitters into pure joy on the slopes? Let’s unlock the secrets to a fantastic first (or fifty-first) snowboarding experience together and get you carving like a pro!
Decoding Your First Snowboard: Picking the Perfect Partner
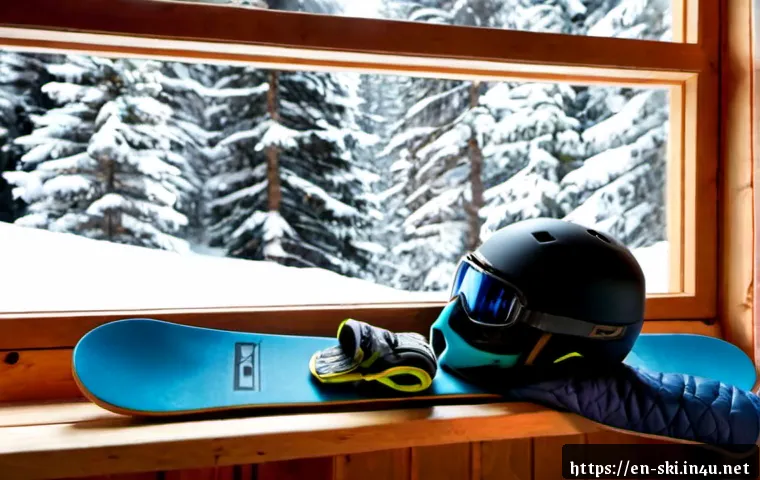
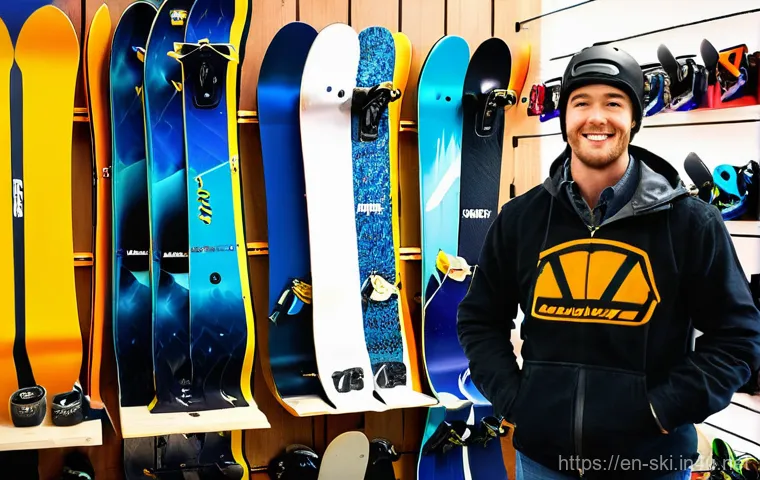
Okay, let’s get real about your first board. Walking into a snowboard shop or browsing online can feel like stepping into a foreign land, right? All those shapes, sizes, and cryptic terms like ‘rocker,’ ‘camber,’ and ‘flex’ can make your head spin. But trust me, finding the right board for your first season isn’t as complicated as it seems. My biggest piece of advice, from someone who’s made a few wrong choices in their day, is to prioritize forgiveness and ease of turning over anything else. You’re not aiming for Olympic gold yet; you’re aiming to have fun and build confidence without constantly catching an edge and face-planting. I remember my first board; it was a stiff, directional beast that was way too advanced for my wobbly self. It felt like trying to tame a wild horse! Lesson learned: start with something that works with you, not against you. A good beginner board will typically have a softer flex, which means it bends more easily, making turns less strenuous and falls a little less jarring. Many modern beginner boards also incorporate “rocker” technology – essentially, the tips and tails are slightly lifted, which helps prevent those dreaded edge catches. It’s like the board is gently guiding you rather than challenging you at every turn. Don’t be shy about asking for advice at your local shop; they’re often a treasure trove of personalized recommendations. Their expertise can save you a ton of frustration and get you on the fast track to feeling comfortable on the snow.
Understanding Board Flex and Profile
When you’re looking at boards, you’ll often hear about ‘flex’ and ‘profile.’ Flex refers to how stiff the board is. For beginners, a softer flex (often rated 1-3 out of 10) is your best friend. It makes the board easier to maneuver and more forgiving if you make a slight mistake. Think of it like learning to drive in an automatic car versus a stick shift – one is just inherently easier to start with. Board profile, on the other hand, describes the curvature of the board’s base. You’ll typically see ‘camber,’ ‘rocker,’ or ‘hybrid’ profiles. Camber boards are curved upwards in the middle, offering great edge hold and pop, but they can be a bit ‘catchy’ for new riders. Rocker boards, which have a continuous upward curve from the center to the tips, are fantastic for beginners because they’re less likely to catch an edge, making turns feel smoother and more natural. Hybrid profiles combine elements of both, offering a good balance, but for your absolute first few days, a full rocker or a very mellow hybrid is usually the way to go. I personally found a huge difference when I switched to a rocker board early on; it genuinely made learning turns less intimidating and more enjoyable.
Sizing It Up: How Long Should Your Board Be?
Getting the right length is crucial. A common rule of thumb for beginners is to choose a board that, when standing upright, reaches somewhere between your chin and your nose. This isn’t an exact science, as your weight and riding style also play a significant role, but it’s a great starting point. A shorter board is generally easier to turn and control, which is ideal when you’re just getting the hang of things. A longer board offers more stability at speed and better float in powder, but it requires more effort to maneuver. For your very first board, err on the side of slightly shorter if you’re between sizes. Remember, your goal is to build fundamental skills and confidence, and a board that’s easy to handle will help you achieve that much faster. Don’t stress too much about getting it absolutely perfect; your needs will evolve as you become a better rider. Focus on comfort and control for now, and you’ll be stoked with your choice.
Your First Dance on Snow: Finding Your Balance and Flow
Alright, you’ve got your gear, you’re on the mountain – now what? Those first moments on a snowboard can feel incredibly awkward. I distinctly remember wondering how anyone managed to stay upright, let alone gracefully glide. The key here is patience, and understanding that everyone, even the pros, started exactly where you are. Your first mission isn’t to shred a black diamond run; it’s to get comfortable sliding on one foot, then both. The bunny hill is your best friend – embrace it! It’s designed for a reason, offering gentle slopes where you can safely experiment with your balance. Focus on feeling the board under your feet, shifting your weight, and getting a sense of how it responds. It’s like learning to ride a bicycle; you wobble, you fall, but eventually, your body figures out the mechanics. Don’t be afraid to just sit down, strap in, and stand up a few times until that motion feels less alien. Many resorts offer beginner zones with magic carpets or very slow tow ropes, which are perfect for avoiding the stress of a chairlift right away. The more time you spend simply sliding and getting used to the sensation, the faster you’ll build that intuitive balance that’s essential for snowboarding. Trust your body, and don’t compare your progress to others; everyone’s journey is unique.
Getting Familiar: Skating and Gliding
Before you even think about linking turns, you need to master ‘skating’ and ‘gliding.’ Skating involves unstrapping your back foot (usually your dominant one) and using it to push off the snow, similar to skateboarding. This is how you’ll move around in lift lines or flat areas. Practice this until it feels natural. Then, try strapping both feet in and just gliding straight down a very gentle slope. This might sound simple, but it’s crucial for understanding how the board moves and reacting to its momentum. Keep your knees bent, your core engaged, and look where you want to go. Your body naturally follows your gaze! I’ve seen so many beginners try to look down at their feet, only to tumble. Keep your head up, breathe, and let gravity do its thing. It’s all about small, controlled movements and getting a feel for that exhilarating slide.
The “Falling Leaf” Technique: Your First Control Move
Once you’re comfortable gliding, the ‘falling leaf’ technique is your next big step. This is essentially side-slipping down the hill, alternating pressure between your heel edge and toe edge to control your speed. Imagine a leaf falling from a tree, swaying from side to side. You’ll shift your weight slightly to engage one edge, slide a bit, then shift to the other edge to slow down or change direction. This isn’t about turning yet, but about learning to control your speed and direction without fully committing to a turn. Practice this on both your heel edge (facing downhill) and your toe edge (facing uphill). It’s a fantastic way to build muscle memory and understand how edge pressure works. I spent hours doing falling leaf on my first few days, and it paid off immensely. It gave me the confidence to know I could always slow myself down, which is a huge mental hurdle to overcome.
The Art of the Stop: How to Slow Down, and When to Bail
Learning to stop effectively and safely is hands-down the most important skill you’ll acquire as a beginner snowboarder. Seriously, it’s more crucial than making perfect turns. Without a reliable way to stop, you’re essentially a runaway train, and that’s not fun for anyone on the mountain, least of all you. The most common and effective beginner stop is the ‘heel-side’ or ‘toe-side’ skid stop, often called a ‘J-turn’ or ‘garland turn’ that brings you to a complete halt. It’s all about twisting your body and engaging an edge to scrape snow and lose speed. I vividly recall the sheer terror of not being able to stop and heading straight for the fence at the bottom of the bunny hill. That moment was a huge motivator to practice my stops until they were second nature. Don’t rush into harder runs until you can confidently stop on demand, every single time. And remember, sometimes, the safest way to avoid a collision or a nasty fall is simply to bail out. Learning to fall correctly, which we’ll cover, is an integral part of staying safe and minimizing injuries.
Mastering the Skid Stop
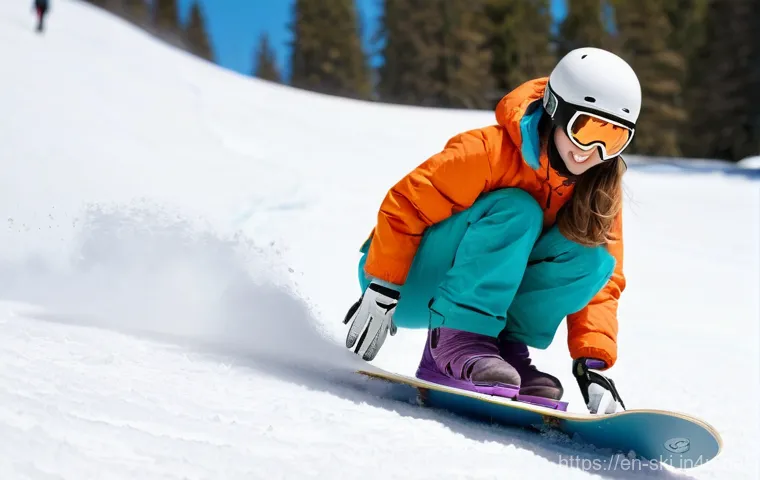
The skid stop is your bread and butter. To perform a heel-side skid stop, you’ll start traversing across the hill, then rotate your upper body and hips downhill, driving your heels into the snow to engage your heel edge. Your board will pivot sideways, creating a spray of snow as you slow down. The key is to commit to the turn and really dig that edge in. For a toe-side skid stop, you’ll do the opposite: rotate your body uphill, and push your toes into the snow to engage your toe edge. This one can feel a bit scarier because you’re looking up the hill, but it’s equally important. Practice these repeatedly on a gentle slope. Start slowly, and as you gain confidence, increase your speed slightly. The more consistent you are with your stops, the more control you’ll feel on the mountain, and that directly translates to more fun. I remember drilling these stops over and over, feeling a sense of accomplishment each time I sprayed a perfect plume of snow and came to a controlled halt.
When to Bail: The Controlled Fall
Sometimes, despite your best efforts, you’ll find yourself in a situation where a graceful stop just isn’t happening. This is where the ‘controlled fall’ comes in. It’s not about avoiding falling altogether, but about minimizing the impact when you do. The general idea is to fall onto your butt (heel side) or your knees/forearms (toe side). Try to avoid falling flat on your hands, as wrists are common injury points. If you feel like you’re losing control, actively decide to sit down or kneel. Tuck your chin to your chest to protect your head, and try to roll with the fall rather than bracing against it. It sounds counterintuitive, but learning to fall properly reduces the risk of injury significantly. I’ve had my fair share of unexpected tumbles, and the times I managed a controlled fall, I bounced right back up. The times I tensed up? Well, let’s just say bruises were involved! Wear protective gear like wrist guards and padded shorts, especially as a beginner. They are game-changers for boosting confidence and taking the sting out of those inevitable tumbles.
Chairlift Charades: Gliding Up, Gliding Down
Ah, the chairlift! For many beginners, this is the most intimidating part of the entire snowboarding experience. The thought of maneuvering with one foot unstrapped, timing your approach, sitting down, and then gracefully dismounting without tumbling in front of a line of onlookers can feel like a high-stakes performance. But trust me, it’s much simpler than it looks once you get the hang of it. I remember my first few chairlift rides were a hilarious mix of awkward shuffles and near-misses. The key is to approach with confidence, listen to the lift operators, and remember that everyone around you has been there too. Don’t be afraid to ask for a slow down if you need it – lift operators are there to help, not to judge. Most importantly, stay calm. Panicking is what usually leads to the spills. Practice getting on and off the magic carpet or surface lift first if your resort has them, as they offer a less daunting introduction to lift mechanics. Once you conquer the chairlift, a whole new world of terrain opens up to you, and that feeling of ascending the mountain with fresh powder awaiting you is absolutely unmatched!
The Art of the Approach and Load
As you approach the chairlift, keep your front foot strapped in and your back foot unstrapped. Use your unstrapped back foot to ‘skate’ yourself into position, aiming to be directly under the chair’s path. Keep your snowboard pointed straight downhill, parallel to the line of travel. Look over your shoulder to see the chair coming, and as it approaches, reach back and grab it firmly. Let it scoop you up gently. Sit back, relax, and pull the safety bar down. Make sure your board is dangling freely beneath you and isn’t snagging on anything. Keep your weight balanced. A common mistake I see is people trying to sit down too early or too late, leading to an awkward lurch. Timing is everything here, and it improves with practice. Don’t be afraid to ask the liftie for a little assistance or to slow the chair if you’re feeling nervous. They’re usually very accommodating, especially with beginners. Just remember, it’s okay to feel a bit clumsy at first; everyone does!
Graceful Disembarking: The Crucial Part
This is where many beginners find themselves in a tangle, but it doesn’t have to be. As you approach the top, lift the safety bar up, and get ready. Keep your snowboard pointed straight ahead, parallel to the ground. As your board touches down on the snow, stand up smoothly, shifting your weight onto your front foot. Let the momentum of the chair gently push you off. Once you’re clear of the chair, use your unstrapped back foot to push yourself away from the exit area. The crucial thing here is to keep your board flat on the snow and pointed downhill, avoiding turning it sideways too early, which can cause you to catch an edge and fall. Remember, the goal is to glide straight out of the unload zone. If you do stumble, try to get out of the way quickly so the next person can exit safely. I’ve had my share of embarrassing tumbles off the chair, but each one taught me a little more about timing and balance. You’ll get it, just keep practicing!
Gear Up Smart: Beyond Just the Board and Bindings
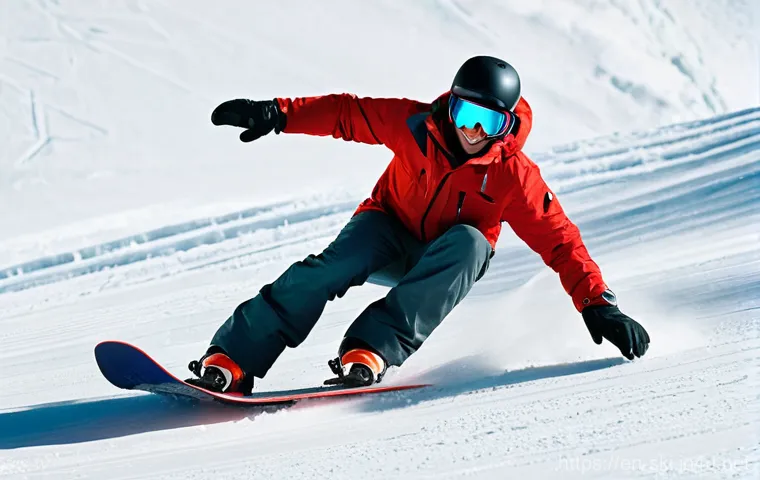
When you’re first diving into snowboarding, it’s easy to get fixated on the board itself, but let me tell you, the right accessories can make or break your experience. Trust me, I learned this the hard way after a few seasons of shivering my way through lessons and nursing sore wrists. Think of your gear as your protective cocoon against the elements and impacts. Beyond the board, boots, and bindings, there’s a whole world of essential items that will keep you warm, dry, safe, and ultimately, happy on the mountain. Skimping on these can lead to uncomfortable days, shorter sessions, and even injuries that could sideline you. Investing in good quality outer layers, proper eye protection, and crucial safety gear isn’t just a luxury; it’s a necessity for an enjoyable and progressive learning experience. I’ve seen too many beginners call it quits early because they were soaked through or freezing cold. Don’t let that be you!
Your Feet’s Best Friends: Boots and Bindings
Good boots are paramount; they are your direct connection to the board. They should fit snugly but not painfully tight, with no heel lift. Your toes should lightly brush the end when you stand up straight, but pull back slightly when you flex your knees. Don’t borrow ill-fitting boots; it’s a recipe for discomfort and poor control. Bindings, in turn, connect your boots to the board. For beginners, a softer flex binding is ideal, matching your beginner board’s characteristics and allowing for easier turning. Many modern bindings are incredibly easy to adjust on the fly, which is a huge plus when you’re starting out. I personally prefer a slightly higher-end binding because the comfort and responsiveness are noticeable, and it makes those long days on the snow much more pleasant. When setting up, make sure your stance angles are appropriate for a beginner – usually a duck stance with slight angles outward (e.g., +15 degrees on the front, -6 degrees on the back) is a good starting point, as it provides a natural, balanced feel for both regular and switch riding.
The Essential Layers: Staying Warm and Dry
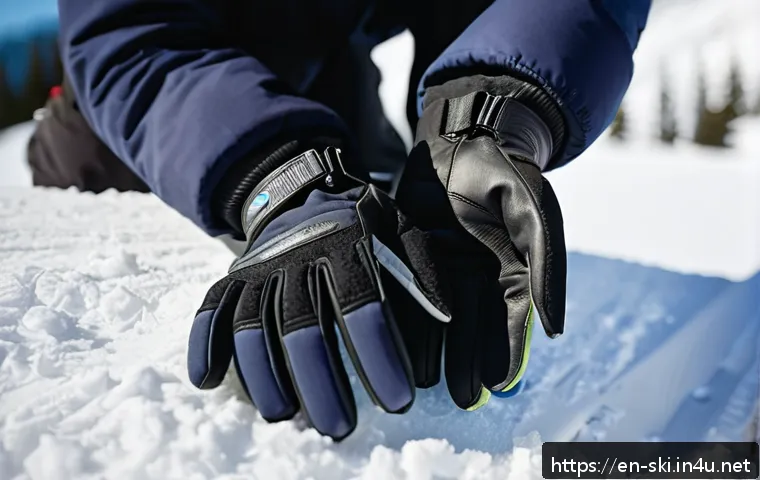
Layering is your best friend in unpredictable mountain weather. Start with a moisture-wicking base layer (not cotton, which retains moisture and makes you cold). Next, add a mid-layer for insulation – a fleece or down jacket works well. Finally, your outer shell needs to be waterproof and windproof to protect against snow and wind. Look for jackets and pants with good waterproofing ratings (e.g., 10,000mm or higher). Don’t forget waterproof gloves or mittens (mittens are often warmer), a warm hat or helmet liner, and a neck gaiter or balaclava for chilly days. Sunglasses or goggles are also non-negotiable; eye protection from sun, wind, and snow is vital. I can’t stress enough how miserable a day can be if you’re wet and cold. I once went out with insufficient layers and ended up cutting my day short because my fingers were numb – never again!
| Category | Essential Items | Key Considerations for Beginners |
|---|---|---|
| Board Setup | Snowboard, Bindings | Softer flex, rocker or hybrid profile board; softer flex bindings for forgiveness. |
| Footwear | Snowboard Boots | Comfortable, snug fit (no heel lift), appropriate flex for learning. |
| Outerwear | Waterproof Jacket & Pants | Good waterproofing/breathability (10k+), ample insulation, proper fit for movement. |
| Layering | Base Layer, Mid-Layer | Moisture-wicking (non-cotton) base, fleece or synthetic mid-layer for warmth. |
| Head & Face | Helmet, Goggles, Neck Gaiter/Balaclava | Mandatory helmet for safety, clear vision goggles, warmth for face and neck. |
| Hands | Waterproof Gloves/Mittens | Warmth and waterproof membrane (Gore-Tex is great), good dexterity. |
| Safety/Protection | Wrist Guards, Padded Shorts | Highly recommended for beginners to prevent common injuries and boost confidence. |
| Accessories | Snowboard Socks, Sunscreen | Tall, thin, moisture-wicking socks (avoid cotton); high SPF sunscreen for exposed skin. |
Mountain Manners & Safety First: Becoming a Savvy Shredder
As you gain confidence and start venturing beyond the bunny hill, understanding mountain etiquette and prioritizing safety becomes absolutely paramount. The mountain isn’t just your playground; it’s a shared space, and everyone needs to respect the rules to ensure a safe and enjoyable experience for all. I’ve seen countless near-misses and heard stories of avoidable accidents, and almost all of them boil down to a lack of awareness or disregard for basic safety principles. Think of it like driving a car; there are rules of the road for a reason. Knowing these unspoken rules and adhering to them not only keeps you safe but also makes you a more responsible and respected rider. It’s about being aware of your surroundings, understanding your limits, and making smart choices. You don’t want to be *that* person who causes a pile-up because they weren’t paying attention. Plus, being a savvy shredder means you can confidently navigate the mountain without constantly feeling overwhelmed or putting yourself (or others) at risk.
The Responsibility Code: Your Mountain Bible
Every resort adheres to “Your Responsibility Code,” which outlines seven fundamental rules for mountain safety. These include always staying in control, yielding to people ahead of you, stopping in a safe place where you’re visible, looking uphill before starting, using appropriate devices to prevent runaway equipment, obeying all signs, and knowing your ability level. Seriously, internalize these. They’re not suggestions; they’re the foundation of a safe day on the slopes. I can’t emphasize enough how important it is to always be in control. That means being able to stop or avoid other people or objects at any time. If you’re going too fast for your ability or the conditions, you’re not in control. I learned this the hard way once, pushing myself too far too fast, and ended up in a heap. It was a good reminder that humility and self-awareness are vital on the mountain.
Yielding, Spacing, and Awareness
One of the biggest lessons I learned early on was the concept of yielding. The person downhill from you always has the right of way. It’s your responsibility to avoid them, even if they suddenly swerve. This means maintaining enough space around yourself to react. Don’t ride too close to others, especially if they’re moving slower than you. When you stop, always pull over to the side of the trail in a visible spot, not right in the middle where you’re a hazard. Before you start riding from a stopped position, look uphill to make sure the coast is clear. These simple practices significantly reduce the risk of collisions. Also, be aware of changing conditions; fresh snow, ice patches, or crowded areas all demand different approaches. A quick scan of your surroundings regularly can prevent a lot of trouble. Being a good mountain citizen truly enhances the experience for everyone, including yourself.
Beyond the Beginner Blues: What Comes Next on Your Snowboarding Journey
So, you’ve conquered the bunny hill, mastered your stops, and are confidently navigating the chairlifts. Congratulations! That initial learning curve can be steep, but you’ve pushed through, and now the real fun begins. It’s truly an exhilarating feeling when those wobbly slides start to transform into smooth, controlled turns. But remember, snowboarding is a journey, not a destination. There’s always something new to learn, a new technique to refine, or a new part of the mountain to explore. Don’t fall into the trap of thinking you know it all now; that’s when you stop progressing. Instead, embrace the idea of continuous improvement. The mountain offers endless possibilities, from carving groomers to floating through powder, hitting jumps, or weaving through trees. Each new skill you acquire unlocks a whole new level of enjoyment and pushes your personal boundaries, and that’s a truly rewarding feeling. I’ve been riding for years, and I still get a thrill out of learning a new trick or perfecting an old one. Keep that beginner’s curiosity alive!
Linking Your First Turns: The Gateway to Flow
Once you’re comfortable with your falling leaf and skid stops, the natural next step is linking turns. This is where snowboarding truly starts to feel like an art form, a seamless dance down the mountain. It involves transitioning smoothly from your heel edge to your toe edge, and vice-versa, creating a continuous S-shaped path down the slope. The key is to initiate the turn by looking where you want to go, then gently rotating your upper body and hips in that direction, allowing your board to follow. Don’t just rely on pushing your feet; use your whole body! Practice wide, slow turns on a gentle slope at first, focusing on control and fluidity rather than speed. As you gain confidence, you can tighten your turns and pick up a little more speed. I remember the first time I linked a series of clean turns; it felt like flying, a moment of pure, unadulterated joy that solidified my love for snowboarding. It’s a game-changer, and it’s totally within your reach with a little practice.
Seeking Progression: Lessons and Beyond
Even after you feel pretty good about your riding, consider taking another lesson, perhaps an intermediate one. Instructors can spot bad habits you might not even realize you have and offer personalized tips that can dramatically improve your technique. A lesson isn’t just for beginners; it’s a fantastic investment at any stage of your snowboarding journey. Beyond formal lessons, continue to challenge yourself safely. Try different types of terrain: venture onto some gentle groomed blue runs, experiment with small moguls, or even try to ride a little switch (the opposite of your natural stance). Watch other riders, read up on new techniques, and just spend as much time on the snow as you can. Every day on the mountain is a chance to learn and grow. The more you put into it, the more you’ll get out of it, and the more incredible memories you’ll make. Snowboarding isn’t just a sport; it’s a passion, a lifestyle, and a fantastic way to connect with nature and push your own limits. Keep shredding!
Wrapping Things Up
So, there you have it! Your first steps into the incredible world of snowboarding might feel a bit overwhelming, but I truly hope this guide has given you a clearer path and boosted your confidence. Remember, every single one of us, from the wobbliest beginner to the most seasoned pro, started right where you are. The tumbles are part of the journey, the laughs are guaranteed, and the feeling of finally linking those turns is absolutely unbeatable. Don’t rush it, embrace the learning process, and most importantly, have a blast out there. The mountain is waiting for you to discover its magic, one exciting slide at a time!
Useful Tips to Keep in Your Back Pocket
1. Don’t be shy about investing in a proper lesson or two. Even one session with a certified instructor can fast-track your progress and fix bad habits before they even start. It’s truly a game-changer!
2. Always check the weather and snow conditions before you head out. A bluebird day on fresh powder is a completely different experience from a windy, icy afternoon, and being prepared makes all the difference.
3. Hydration and snacks are your best friends on the mountain. Snowboarding is a workout, and staying fueled and hydrated will keep your energy levels up and help you avoid that mid-afternoon slump.
4. Listen to your body! If you’re tired, cold, or just not feeling it, it’s okay to call it a day. Pushing yourself too hard when fatigued often leads to silly falls and potential injuries.
5. Ride with a buddy. Not only is it more fun, but it’s also a crucial safety measure. You can look out for each other, share tips, and celebrate those small victories together.
Key Takeaways for a Smooth Start
Prioritize forgiveness in your gear: a softer board and boots will be your allies. Master stopping and falling before you tackle speed or steepness – safety first, always. Respect mountain etiquette and the Responsibility Code to ensure a fun experience for everyone. Embrace the learning curve with patience and a sense of humor; every fall is a step closer to gliding gracefully. Most importantly, stay warm, stay hydrated, and never lose sight of the pure joy of being out on the snow. You’ve got this!
Frequently Asked Questions (FAQ) 📖
Q: What gear do I really need as a beginner, and how do I pick the right board without getting totally overwhelmed?
A: Oh, I totally get it! I remember staring at rows of boards and boots, feeling like I needed a degree in snow science just to get started. My biggest tip?
Don’t break the bank on cutting-edge gear right away. For your first few trips, comfort and forgiveness are your best friends. You’ll absolutely need a snowboard, boots, and bindings.
Trust me, renting for your first few days is a fantastic idea. It lets you try different setups and see what feels good before you commit to buying. When you do look at boards, ask for a “rocker” or “flat” profile board.
These are much more forgiving and less “catchy” on the edges, meaning fewer face-plants – a win in my book! I’ve personally seen how much easier new riders find these.
Beyond the board, a good helmet is non-negotiable for safety (your brain will thank you!), and goggles are crucial for visibility and protecting your eyes from sun and snow.
Layering is key for clothing; think waterproof outer layers, warm mid-layers, and moisture-wicking base layers. And don’t forget waterproof gloves or mittens!
After countless seasons on the slopes, I’ve learned that having the right gear, even if it’s rented, makes a monumental difference in your confidence and how quickly you progress.
Some of the latest 2025-2026 beginner boards even boast “Catch-Free edges” and lighter materials, making the initial learning curve so much smoother. Honestly, it’s about getting comfortable enough to focus on your technique, not battling your gear.
Q: How do I stop gracefully, and what’s the best way to avoid falling constantly when I’m just starting out?
A: Ah, the infamous “falling gracefully” question! Let me tell you, I’ve eaten more snow than I care to admit in my early days. The secret to stopping, and to falling less in general, really comes down to mastering your edges.
The very first stop you’ll learn is often called the “leaf slide” or “pendulum,” where you slide down the hill while keeping your board perpendicular to the slope.
But the real game-changer is learning to use your heel edge and toe edge to control your speed and stop. Think of it like this: to stop, you’ll apply pressure to either your heels (heel edge stop) or your toes (toe edge stop) and essentially “dig” that edge into the snow, pushing the board sideways.
It sounds simple, but it takes practice! What truly made a difference for me was looking where I wanted to go. Your body naturally follows your gaze, so if you’re looking down at your board, you’re more likely to wobble.
Look ahead, down the slope, and trust your body to follow. And about avoiding constant falling? Acceptance is key, my friend!
Everyone falls. Seriously. But you can minimize it by bending your knees and ankles – staying low to the board gives you more control and balance.
When you feel yourself going down, try to fall sideways or backwards onto your butt (if you’re on your heel edge) or forwards onto your knees (if you’re on your toe edge) rather than trying to brace yourself with outstretched arms.
Padded shorts and knee pads can be a lifesaver for protecting those tender spots! It’s all about muscle memory, and a little bit of bravery!
Q: Should I fork out for a snowboarding lesson, or can I just YouTube my way to shredding the slopes?
A: I get this question all the time, and my answer is always a resounding YES, invest in a lesson! I totally get the temptation to save a few bucks and watch some tutorials online – YouTube is an amazing resource, don’t get me wrong, especially for advanced tricks.
But for your very first time, or even your first few times, nothing beats a qualified instructor. Here’s why: a professional instructor can give you immediate, personalized feedback.
They’ll correct your stance, show you exactly how to shift your weight, and break down complex movements into simple, manageable steps. From my own experience, I’ve seen firsthand how quickly beginners progress with just a few hours of dedicated instruction compared to those trying to figure it out alone.
You’ll learn proper technique from the start, which prevents bad habits that are incredibly tough to unlearn later. Plus, they teach you crucial safety tips and how to navigate the mountain responsibly.
Looking back, my only regret was not taking one sooner in my snowboarding journey. While those online videos are fantastic for supplementing what you’ve learned, they can’t physically guide you or spot your mistakes in real-time.
Think of it as an investment in your safety, your enjoyment, and your much faster progression to truly “shredding” those slopes. It makes the entire experience so much more enjoyable and less frustrating, letting you get to the fun parts quicker!