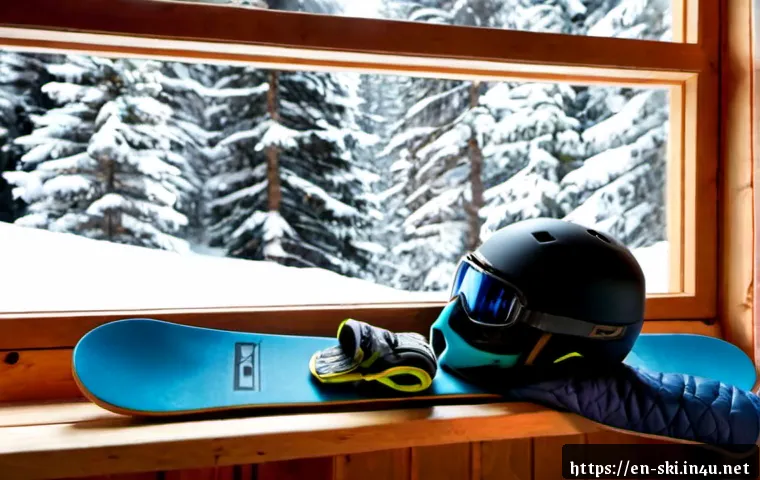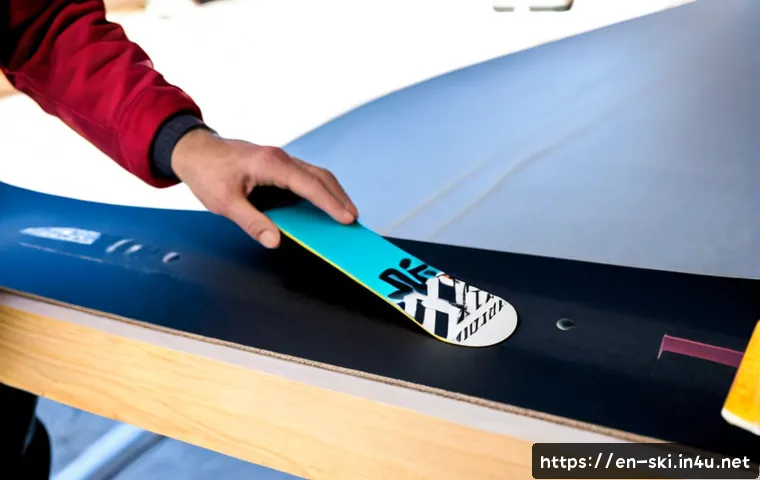
The safest way to customize a snowboard is to work on the clean, dry topsheet with decals, a vinyl wrap, or a properly placed stomp pad. Leave base repairs, edge alterations, new drilling, and uncertain binding changes to a qualified snowboard shop.
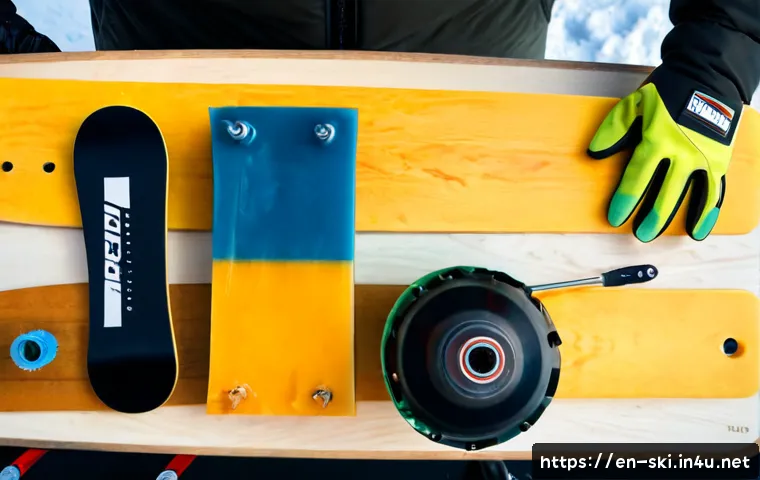
Decals are a practical choice when you want a removable, low-commitment design, while a full vinyl snowboard wrap gives broader coverage and an added protective layer for the topsheet.
Binding adjustments can personalize your stance, but they must stay within the board’s existing insert pattern and use compatible hardware. Before buying custom graphics, adhesive film, or binding accessories, compare their cold-weather suitability, intended durability, and fit with your board.
For performance-related work, a professional snowboard tuning service can handle edge work, base repair, waxing, and binding checks more appropriately than a cosmetic DIY project.
At a Glance
- Lowest-risk customization: apply decals, clear protective film, or a vinyl wrap to a clean, dry topsheet.
- Protect the structure: avoid drilling new holes, cutting edges, or using harsh products on the base.
- Use a snowboard shop when needed: base damage, edge work, and uncertain binding setup deserve professional attention.
| Customization Route | Effort | Durability | Risk Level | Cost Consideration |
|---|---|---|---|---|
| Decals or die-cut stickers | Low | Depends on adhesive quality and use conditions | Low when used on the topsheet | Usually the most budget-friendly DIY option |
| Vinyl snowboard wrap | Moderate | Can offer broad topsheet coverage | Low to moderate if applied carefully | Materials and professional installation vary by provider |
| Custom paint finish | High | Depends on materials and surface preparation | Moderate due to finish and adhesion concerns | Professional graphics work may cost more than simple decals |
| Shop tuning and setup check | Low for the rider | Focused on maintenance rather than appearance | Lower for base, edge, and setup concerns | Service scope and local shop pricing vary |
Start With the Safest Way to Make Your Board Your Own
The Quick Answer: Customize the Topsheet, Not the Structure
If your goal is a board that looks personal without creating unnecessary problems, start with the topsheet. Decals, snowboard stickers, protective vinyl, and many custom graphics options can be applied there without changing the board’s core structure. This is generally a lower-risk route than painting or modifying the base.
The base is a working surface. Snowboard bases are commonly made from sintered or extruded polyethylene, and abrasive work or harsh solvents can harm the finish. Keep cosmetic experiments away from the base unless a technician recommends a specific repair or treatment.
A Three-Step Priority Order: Clean, Personalize, Protect
Use a simple order before adding anything. First, clean the topsheet with a product suitable for your board’s finish. Second, personalize it with decals, a vinyl wrap, or carefully selected accessories. Third, protect high-contact areas with durable materials that suit cold and wet mountain conditions.
This order matters because graphics do not bond well to moisture, dirt, or residue. It also makes it easier to spot existing cracks, loose inserts, or damage that should be checked before you cover part of the board.
Changes That Should Be Left to a Snowboard Shop
Stop the DIY project when the work affects edges, the base, inserts, or binding security. A professional snowboard tuning service commonly focuses on edge work, base repair, waxing, and binding checks. Those services address how the board works on snow rather than only how it looks.
Drilling new holes is not a cosmetic upgrade. It can weaken the board, affect waterproofing around inserts, and may void manufacturer coverage. If you are unsure whether a board component is compatible, a shop can inspect the setup before you ride.
Compare Customization Options Before Buying Materials
Decals, Die-Cut Stickers, and Clear Protective Film
Decals are a sensible starting point when budget, reversibility, and quick installation matter most. They allow you to add a name, color theme, artwork, or small design elements without covering the entire board. Clear protective film can be useful when you want protection with less visual change.
Before choosing a decal kit, check whether the adhesive is intended for cold, wet outdoor use. Not every adhesive performs the same way in mountain conditions. Keep sticker edges away from areas likely to receive repeated contact from boots, bindings, or lift lines.
Full Vinyl Wraps Versus Custom Paint Finishes
A vinyl snowboard wrap is worth considering when you want a more complete visual change. It can cover more of the topsheet than individual decals and may help protect the surface from ordinary scuffs. Applying a wrap takes more patience because alignment, air bubbles, and edge adhesion matter.
Custom paint can create a one-of-one finish, but it requires careful preparation and materials suited to the board surface and riding environment. Paint is not automatically the better choice just because it looks more permanent. If you want a refined finish or do not know which products are appropriate, compare professional custom snowboard graphics services before committing.
Stomp Pads, Binding Accessories, and Functional Add-Ons
A stomp pad is a functional customization. It can improve traction when riding one-footed after getting off a lift. Place it where your free boot can use it without interfering with normal binding use or the board’s hardware.
Binding accessories deserve more caution than decorative items. A binding disc, screw set, or replacement component must match your board’s insert pattern and your bindings. Check boot compatibility as well. A stylish setup is not useful if the mounting hardware is not secure or properly matched.
DIY Cost Versus Professional Graphics and Tuning Value
DIY decals and small accessories can keep the project simple because you control the materials and do the installation yourself. A full wrap adds more material and application effort. Professional graphics work may be a better fit when finish quality matters more than doing the project yourself.
Exact costs depend on location, materials, board condition, and the provider. Compare what is included: cosmetic application is different from a snowboard tuning package that includes base, edge, wax, or binding-check work. Do not assume every graphics shop also handles structural or performance-related service.
Prepare the Topsheet for Decals, Wraps, or Paint
Clean Without Using Products That Can Harm the Finish
Start with a dry board and follow your snowboard manufacturer’s guidance on approved cleaning products. Since warranty rules and finish recommendations vary by brand and model, avoid guessing with aggressive cleaners or harsh solvents.
Pay attention to the difference between the topsheet and the base. Cosmetic application belongs on the topsheet. The base needs a separate maintenance approach, especially if it has scratches or other damage.
Plan the Layout Around Bindings and High-Wear Zones
Lay out decals before removing their backing. Mark where the bindings sit and leave room around mounting areas. This helps prevent a design from being hidden, rubbed, or damaged during normal use.
For a wrap, think about edges, corners, and places where boots or lift-line contact may occur. A design that looks good on a flat workbench may need adjustment once the bindings and stomp pad are in place.
Test Adhesives and Avoid Trapped Moisture or Air Bubbles
Test a small piece of material first if possible. This gives you a chance to see how the adhesive sits on the surface before applying a full design. Apply only to a clean, dry topsheet, and work slowly to reduce trapped air and moisture.
If an adhesive lifts quickly or the surface seems unsuitable, do not force the application. Check the material instructions, the board manufacturer’s guidance, or a professional graphics provider before continuing.
Customize the Setup Without Creating Safety Problems
Adjust Stance Width, Angles, and Setback Only Within the Insert Pattern
Stance changes can make a board feel more personal, but the board itself sets limits. Use only the mounting positions available through the existing insert pattern. This lets you explore stance width, angles, or setback without adding holes to the board.
Riding performance changes from these adjustments cannot be guaranteed. Make one controlled change at a time, then confirm that both bindings remain properly mounted and secure.
Check Binding-Disc, Screw, and Boot Compatibility
Before buying replacement binding components, verify the mounting system and hardware requirements. The disc must work with the insert pattern, screws must be appropriate for the binding and board, and boots must fit the bindings correctly.
When comparing compatible bindings, look beyond color and brand styling. The important details are the mounting interface, hardware fit, and secure interaction between boots, bindings, and board.
Why Drilling, Cutting, or Altering Edges Is a High-Risk Choice
Drilling new holes can weaken a snowboard and may affect waterproofing around inserts. Altering edges or doing aggressive base work also moves beyond visual customization. These changes can create problems that are difficult to assess at home.
For anything involving the base, edges, inserts, or suspected damage, choose a snowboard repair or tuning shop instead of treating it as a DIY graphics project.
Pick a Method Based on How and Where You Ride
Durable Options for Park Riders and Frequent Resort Days
Frequent use creates more chances for scuffs, boot contact, and wear. A carefully applied vinyl wrap or selected protective film can make sense if you want broad topsheet coverage. Keep the design clear of binding contact points and inspect it periodically.
For riders who use their board often, regular snowboard tuning may be more valuable than another cosmetic layer. A well-maintained base and properly checked bindings support the board’s intended use.
Simple Removable Designs for Occasional Riders or Rentals
For occasional riders, removable decals can be the easiest route. You can personalize the board without committing to a full wrap or permanent-looking paint finish. This approach also makes sense when you want to update the design later.
Rental equipment is different. Do not apply adhesives, modify hardware, or make permanent changes to a board you do not own unless the rental provider explicitly permits it.
Weather-Resistant Choices for Wet Snow and Spring Conditions
Wet conditions put more pressure on edges of decals and wraps. Choose materials intended for outdoor exposure and follow their application guidance. Cold, moisture, and repeated contact can affect results, so suitability should be confirmed rather than assumed.
After riding, let the board dry before storing it. Check stickers, wrap edges, stomp-pad adhesion, and binding hardware as part of normal equipment care.
Selection Criteria and Comparison Summary
Choose your route by answering a few direct questions. Do you want a low-cost, removable design? Start with decals. Do you want more complete coverage and topsheet protection? Compare vinyl snowboard wrap materials and installation options. Do you need help with a damaged base, questionable edges, or binding compatibility? Prioritize a professional snowboard tuning or repair shop.
- Confirm that adhesives and films are suitable for cold, wet conditions.
- Keep graphics away from binding contact points and high-wear areas where possible.
- Use only the board’s existing insert pattern for stance and binding changes.
- Verify binding discs, screws, and boots before installing replacement components.
- Compare local tuning options by the specific work included, not cosmetic claims alone.
Before purchasing, review the product details for wrap material, adhesive use, compatible bindings, or local tuning services on the relevant product or service page.
Final Thoughts
A customized snowboard can look distinct without becoming a risky project. The practical rule is simple: personalize the topsheet, preserve the structure, and use compatible hardware. Decals, wraps, and stomp pads offer accessible ways to make the board yours. When the work involves the base, edges, inserts, or mounting security, professional service is the more sensible choice.
Useful Things to Know
1. The topsheet is generally the better location for cosmetic changes.
2. A stomp pad can help with one-foot riding, but it should not interfere with bindings.
3. Professional tuning is primarily about maintenance, including edge work, base repair, waxing, and binding checks.
4. Manufacturer-approved cleaning products and warranty conditions can differ by snowboard model.
Important Notes
Material suitability, service pricing, warranty coverage, and adhesive performance must be confirmed for your specific board and conditions. Do not assume a vinyl, paint, adhesive, or binding component is appropriate simply because it fits visually. Avoid drilling new holes or modifying edges at home, as these changes can weaken the board, affect waterproofing around inserts, and may void manufacturer coverage.
Frequently Asked Questions
Q1. Is it safe to put stickers or a vinyl wrap on a snowboard?
A1. It is generally lower risk to apply decals or a vinyl wrap to a clean, dry topsheet than to paint or modify the base. Choose materials suitable for cold and wet use, plan around binding and high-wear areas, and avoid trapping moisture during application.
Q2. How much does it cost to customize a snowboard with decals, a wrap, or professional graphics?
A2. Exact costs vary by material, board condition, location, and service provider. Decals are often the simpler DIY route, while full wraps and professional custom graphics may involve more material or labor. Compare what each option includes before deciding.
Q3. Can I drill new holes in a snowboard to change my binding position?
A3. It is not a recommended DIY modification. Drilling new holes can weaken the board, affect waterproofing around inserts, and may void manufacturer coverage. Adjust stance width, angles, and setback only within the board’s existing insert pattern, or ask a qualified snowboard technician for guidance.